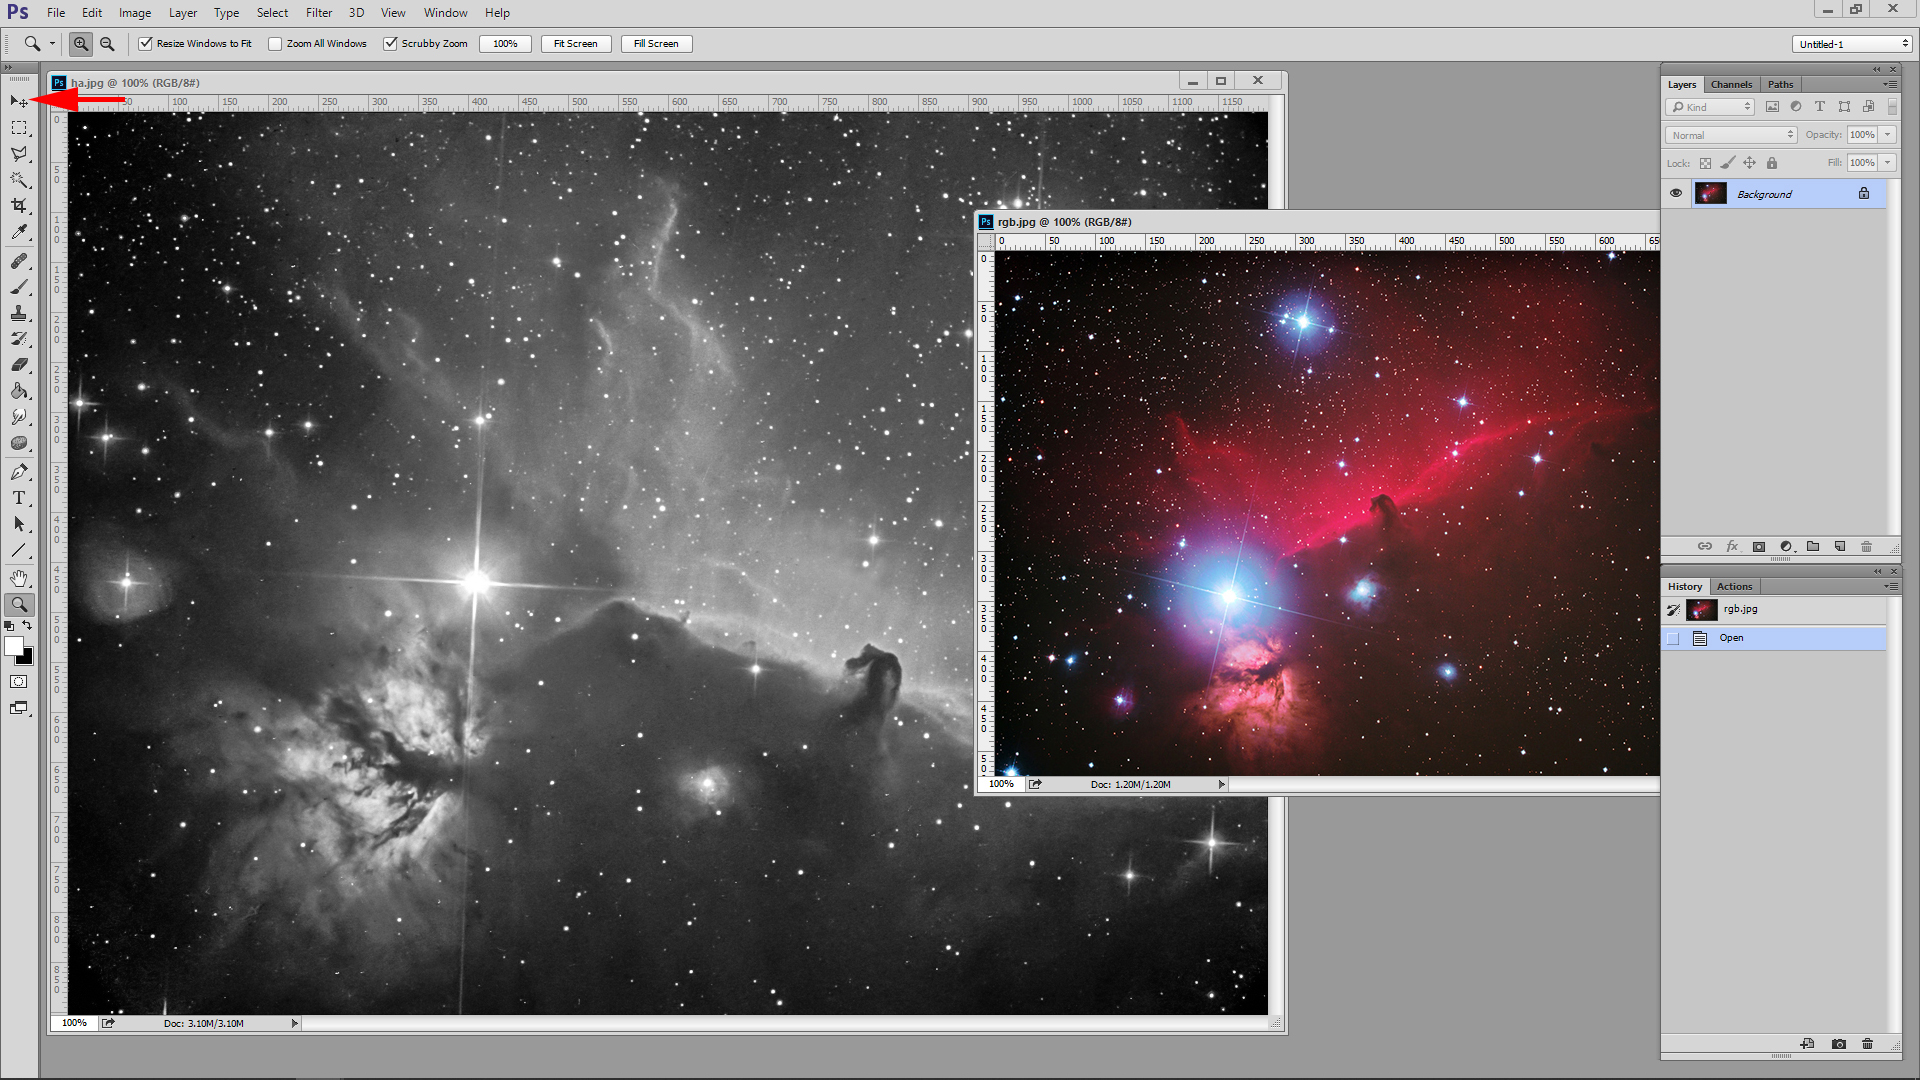
쓸만한 파일을 찾다보니 저작권 문제도 있고 해서 착한 두 분의 파일을 무단 도용했습니다^^
왼쪽이 ha, 오른쪽이 RGB라고 칩시다.
ha가 디테일이므로 건드리지 않고 RGB파일을 Shift키를 누른채로 무브툴로 ha 위로 드래그합니다.(Shift키는 화면 정중앙에 도입하는 기능입니다)
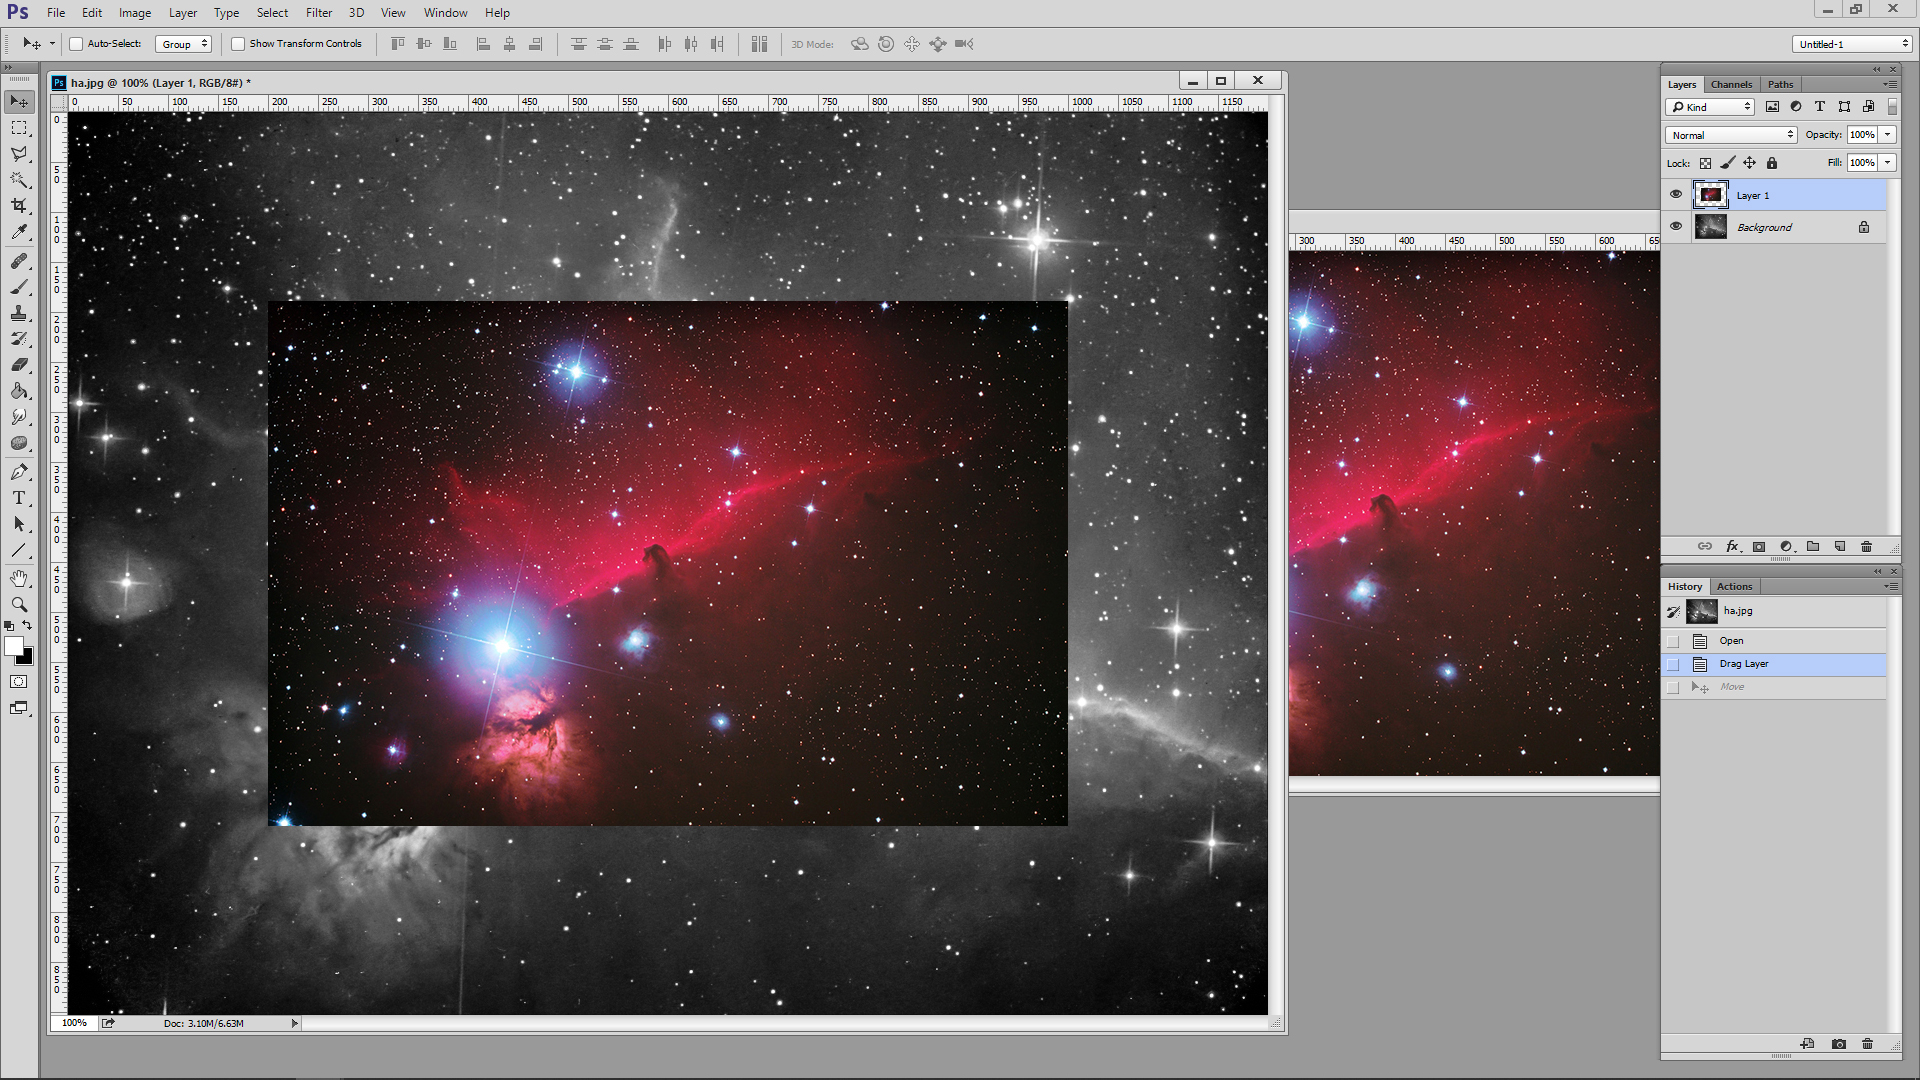
화면을 직접 끌어도 되고 레이어에서 끌어와도 됩니다.
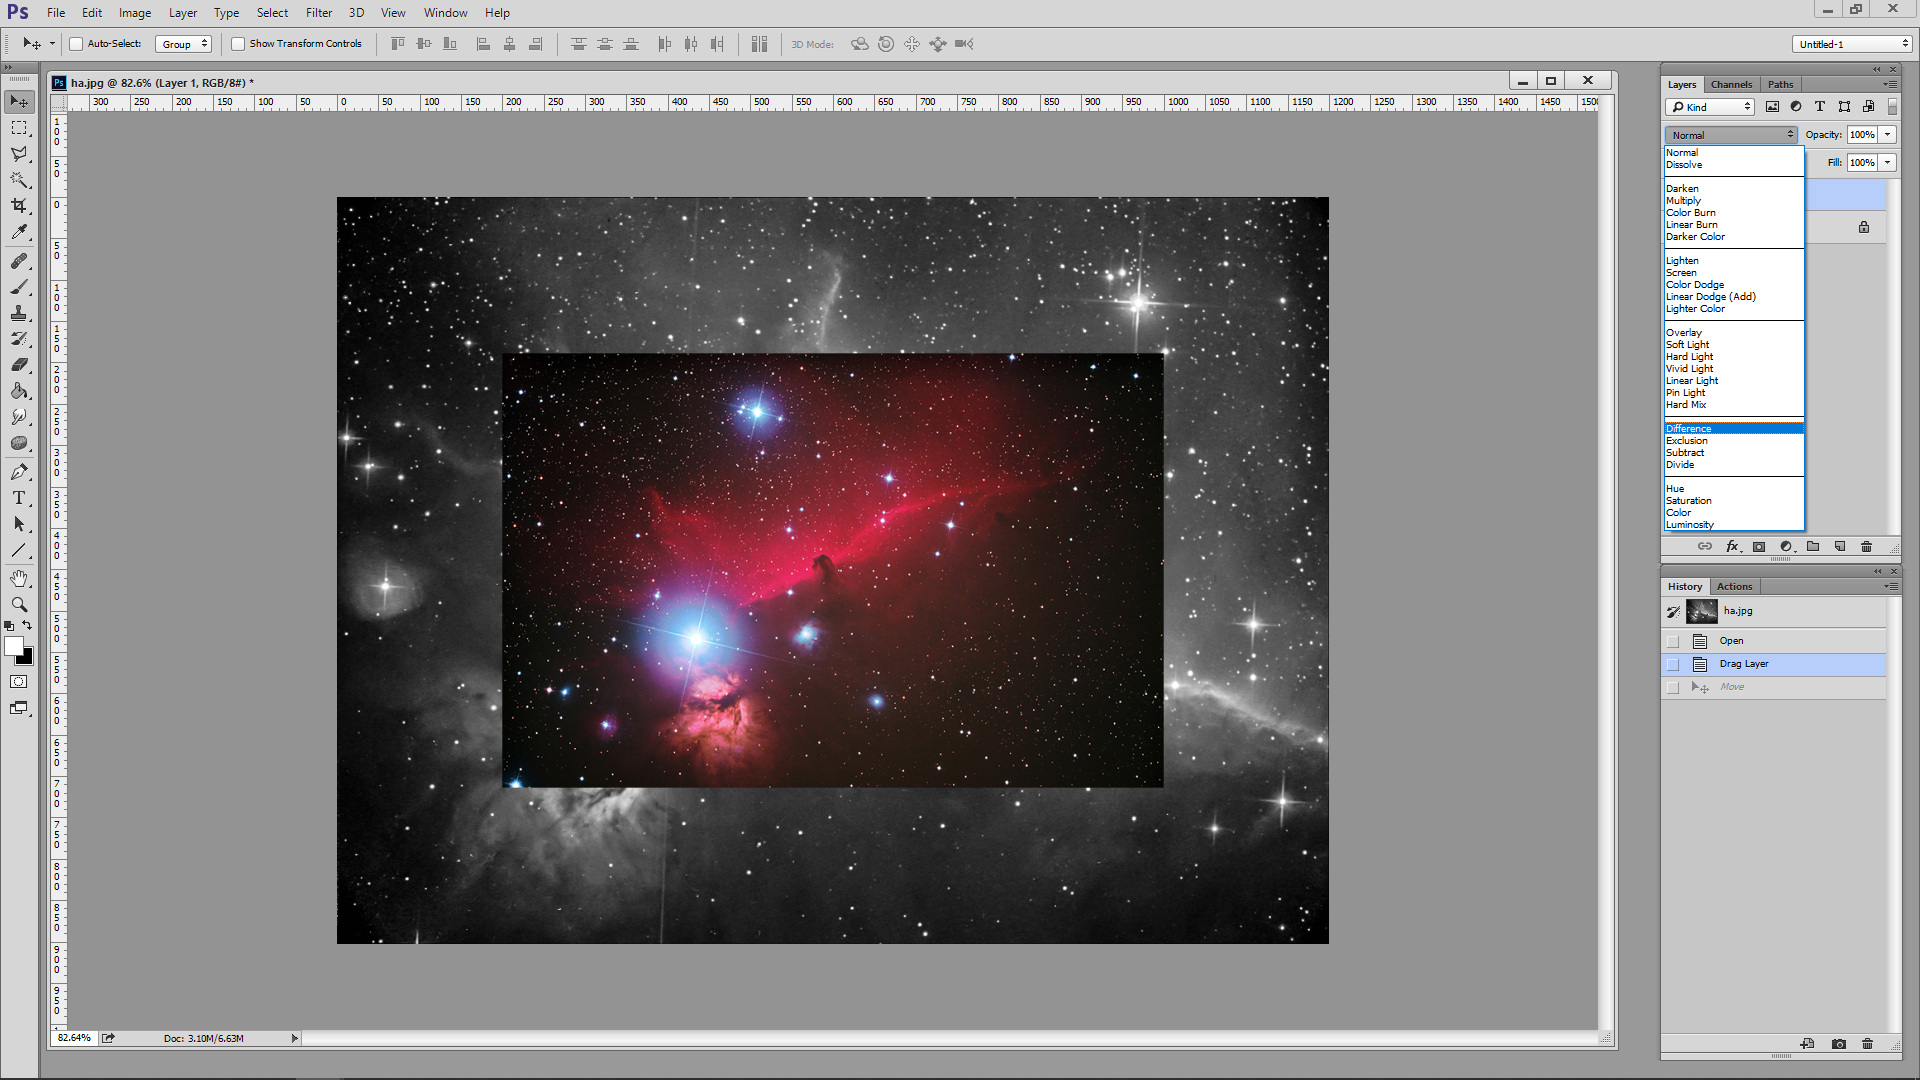
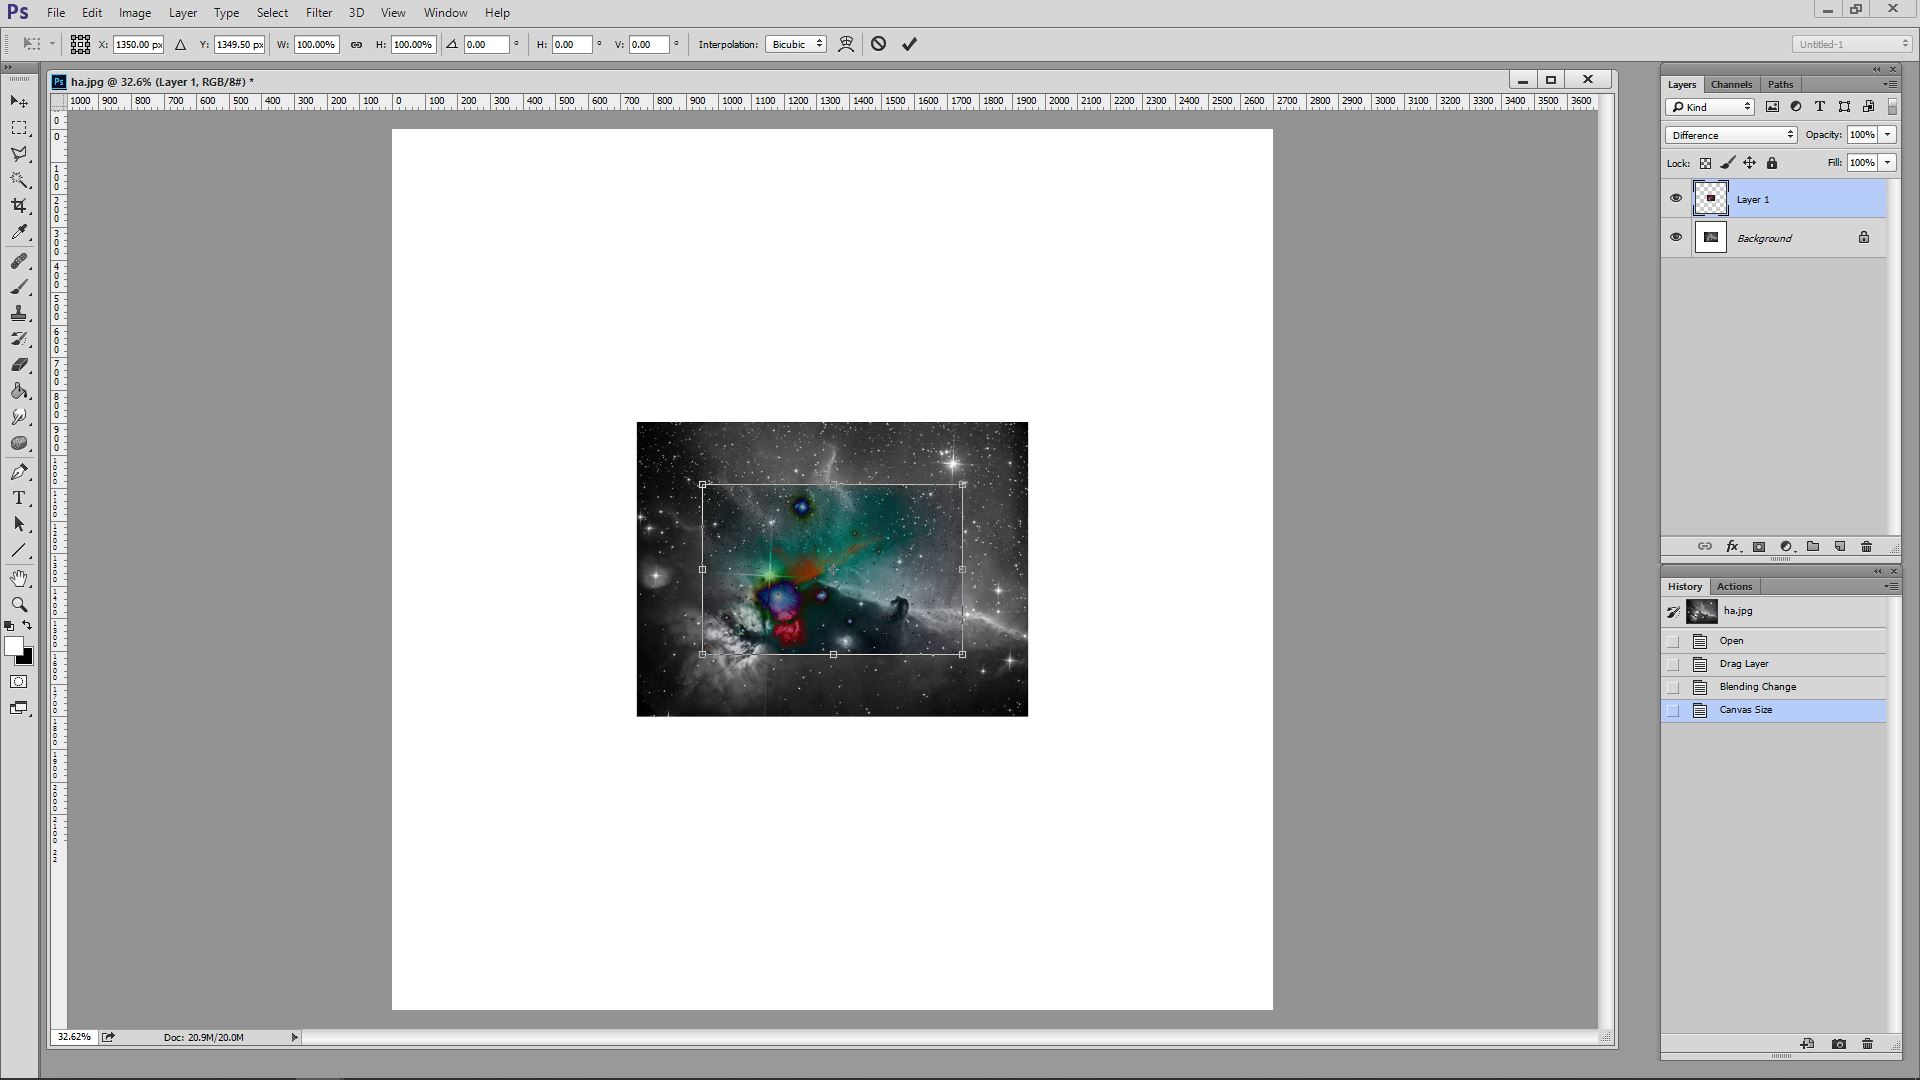
레이어모드를 Difference(한글은 차이?)로 바꿉니다.
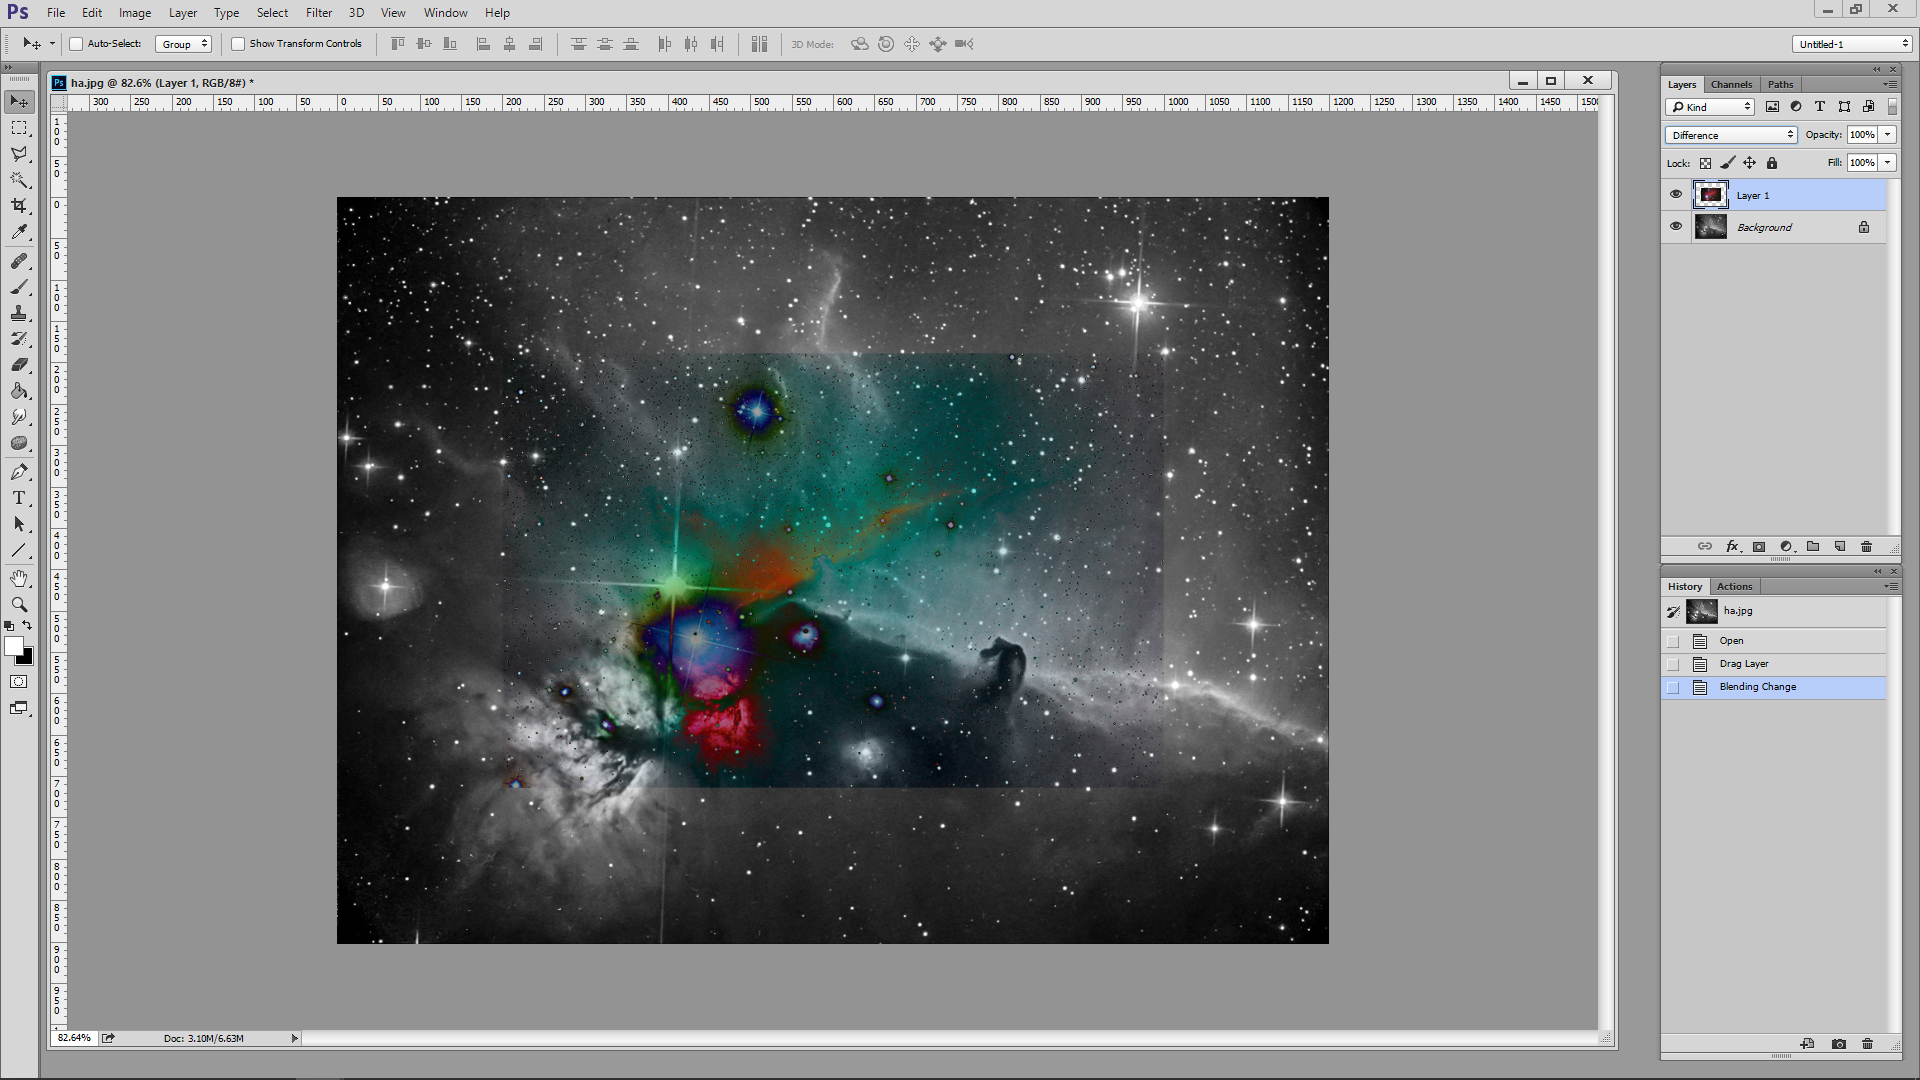
화면이 반전되므로 차이를 쉽게 알수 있습니다.
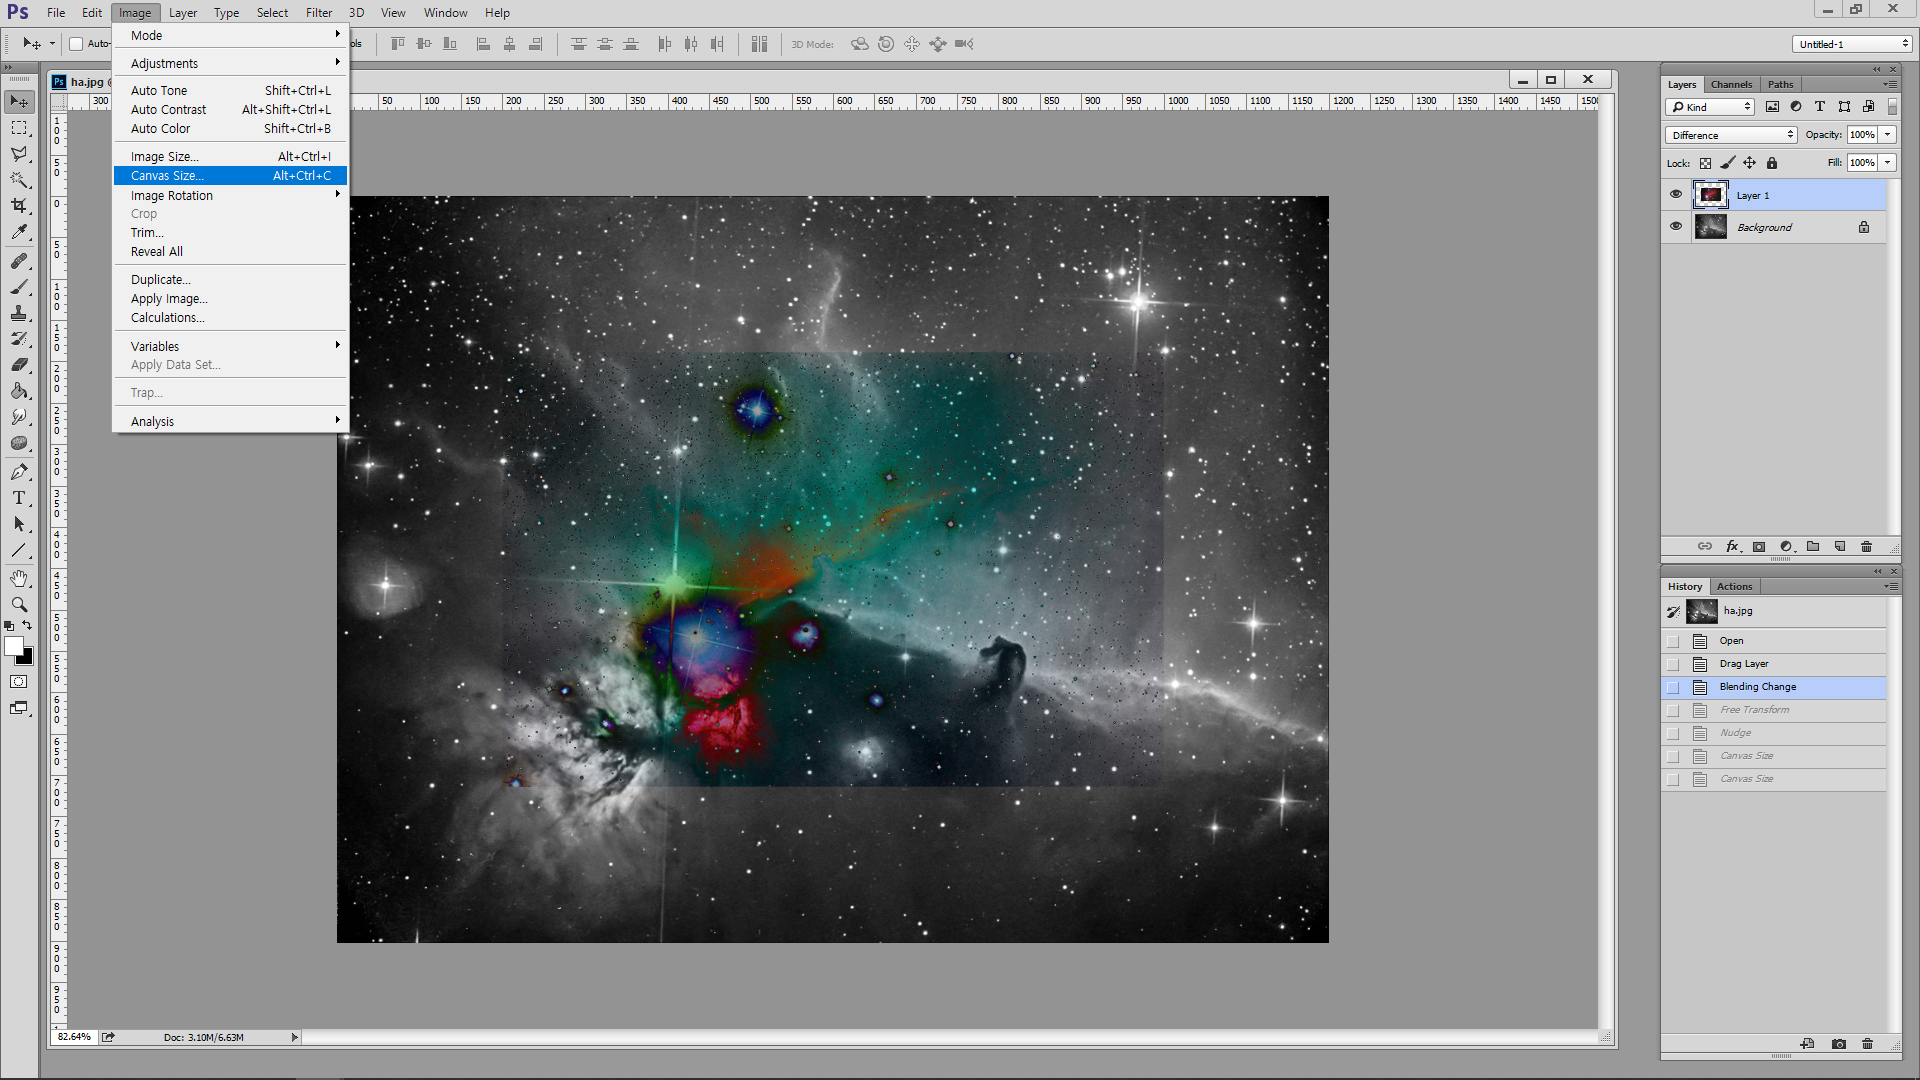
Image-Canvas Size를 실행하여 작업공간을 넓혀줍니다.
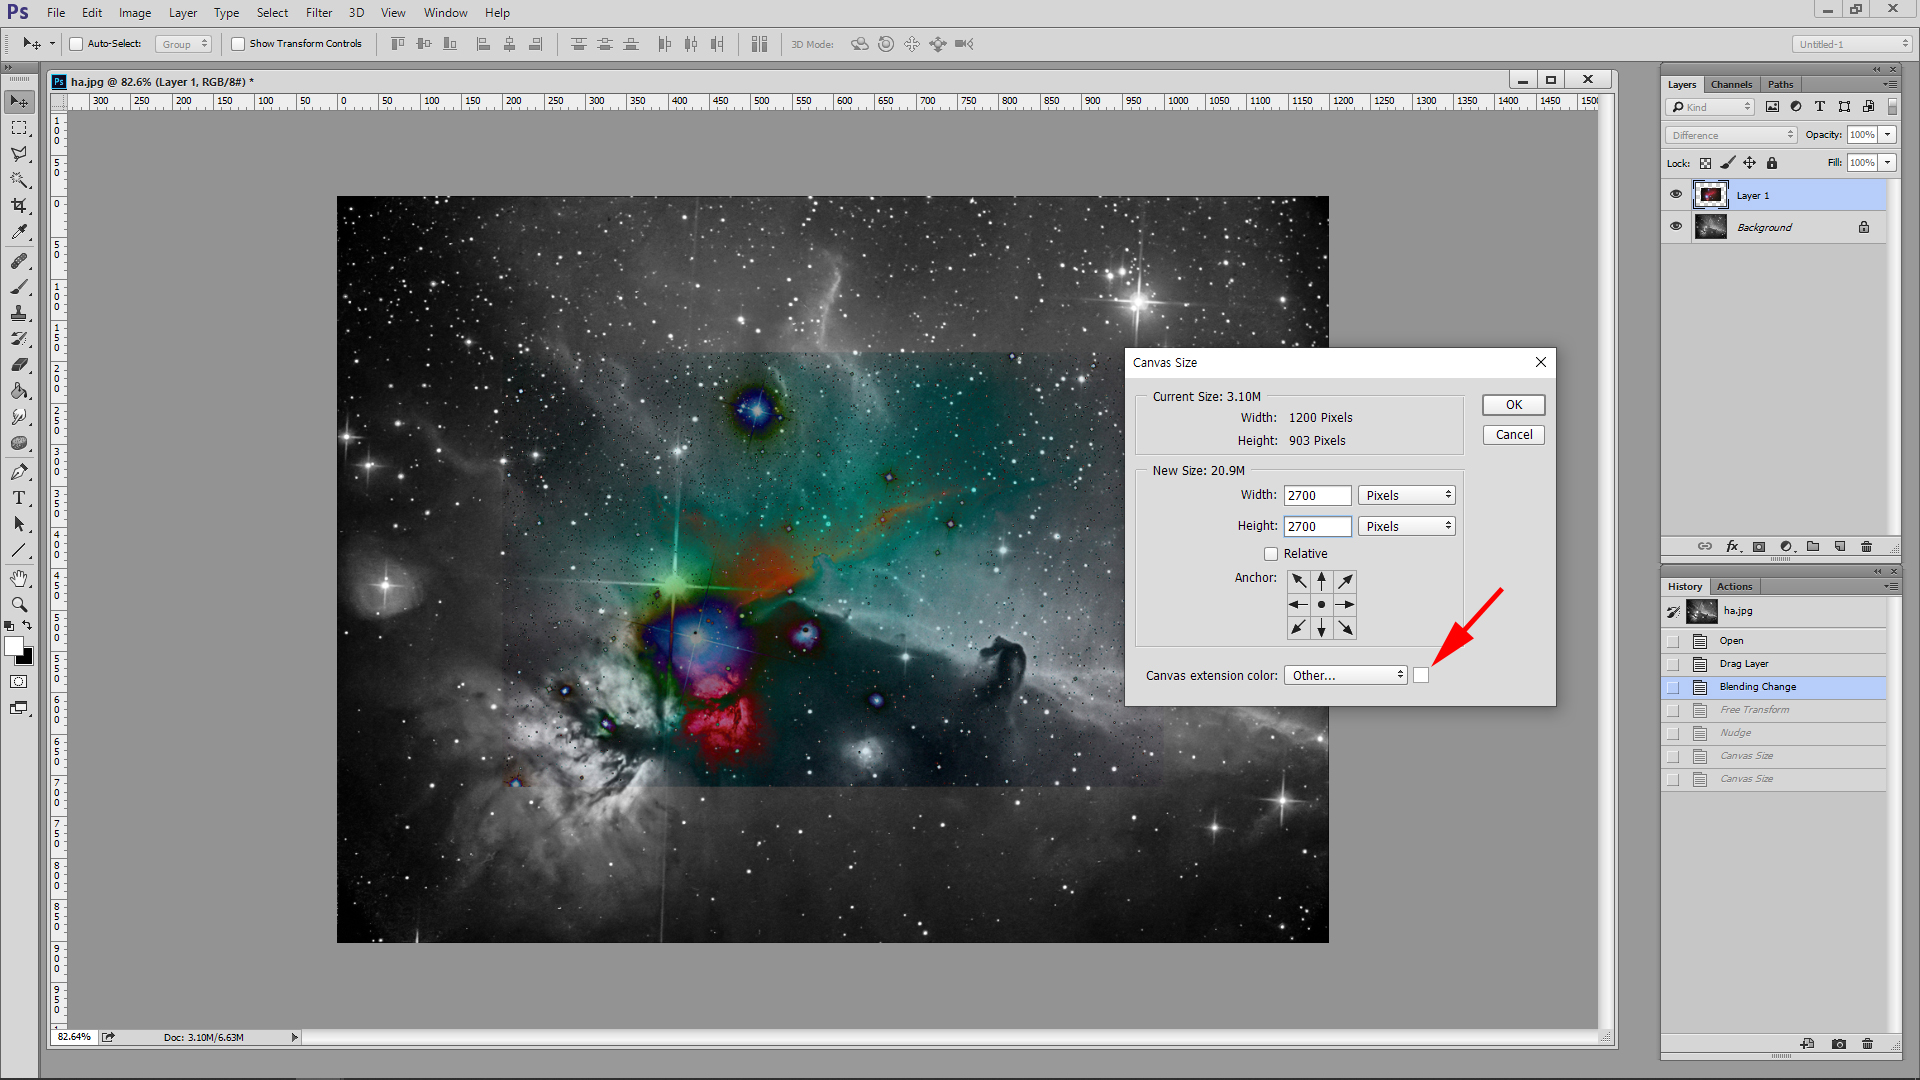
사이즈를 늘리거나 회전시킬 때 작업이 편하도록 적당한 사이즈를 입력합니다.(실행-취소 반복)
바탕색을 임의로 정합니다.(저는 주로 눈이 편한 검정으로 합니다)

흰 바탕이 준비되었습니다.
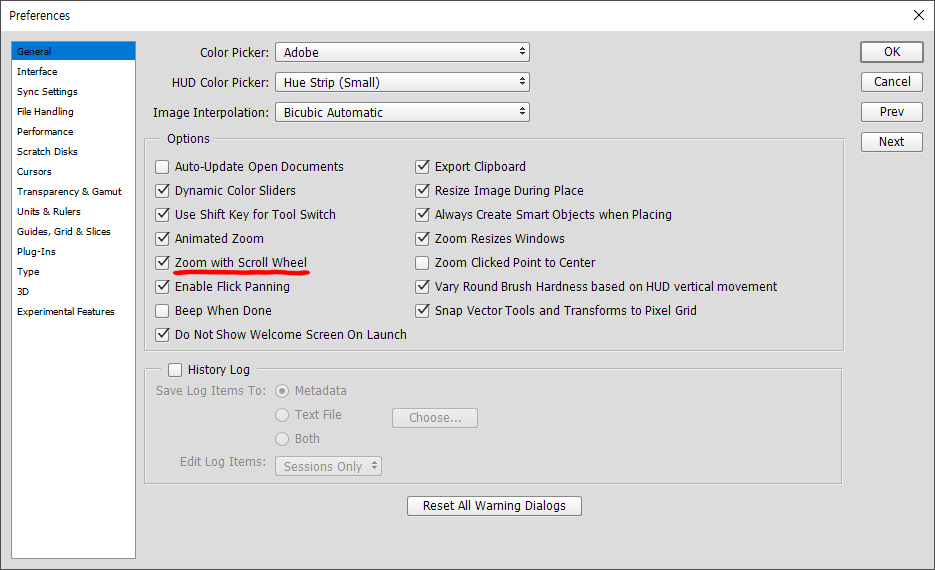
(Tip)
Preferences의 Zoom with Scroll Wheel은 체크하시는 것이 여러모로 편합니다.
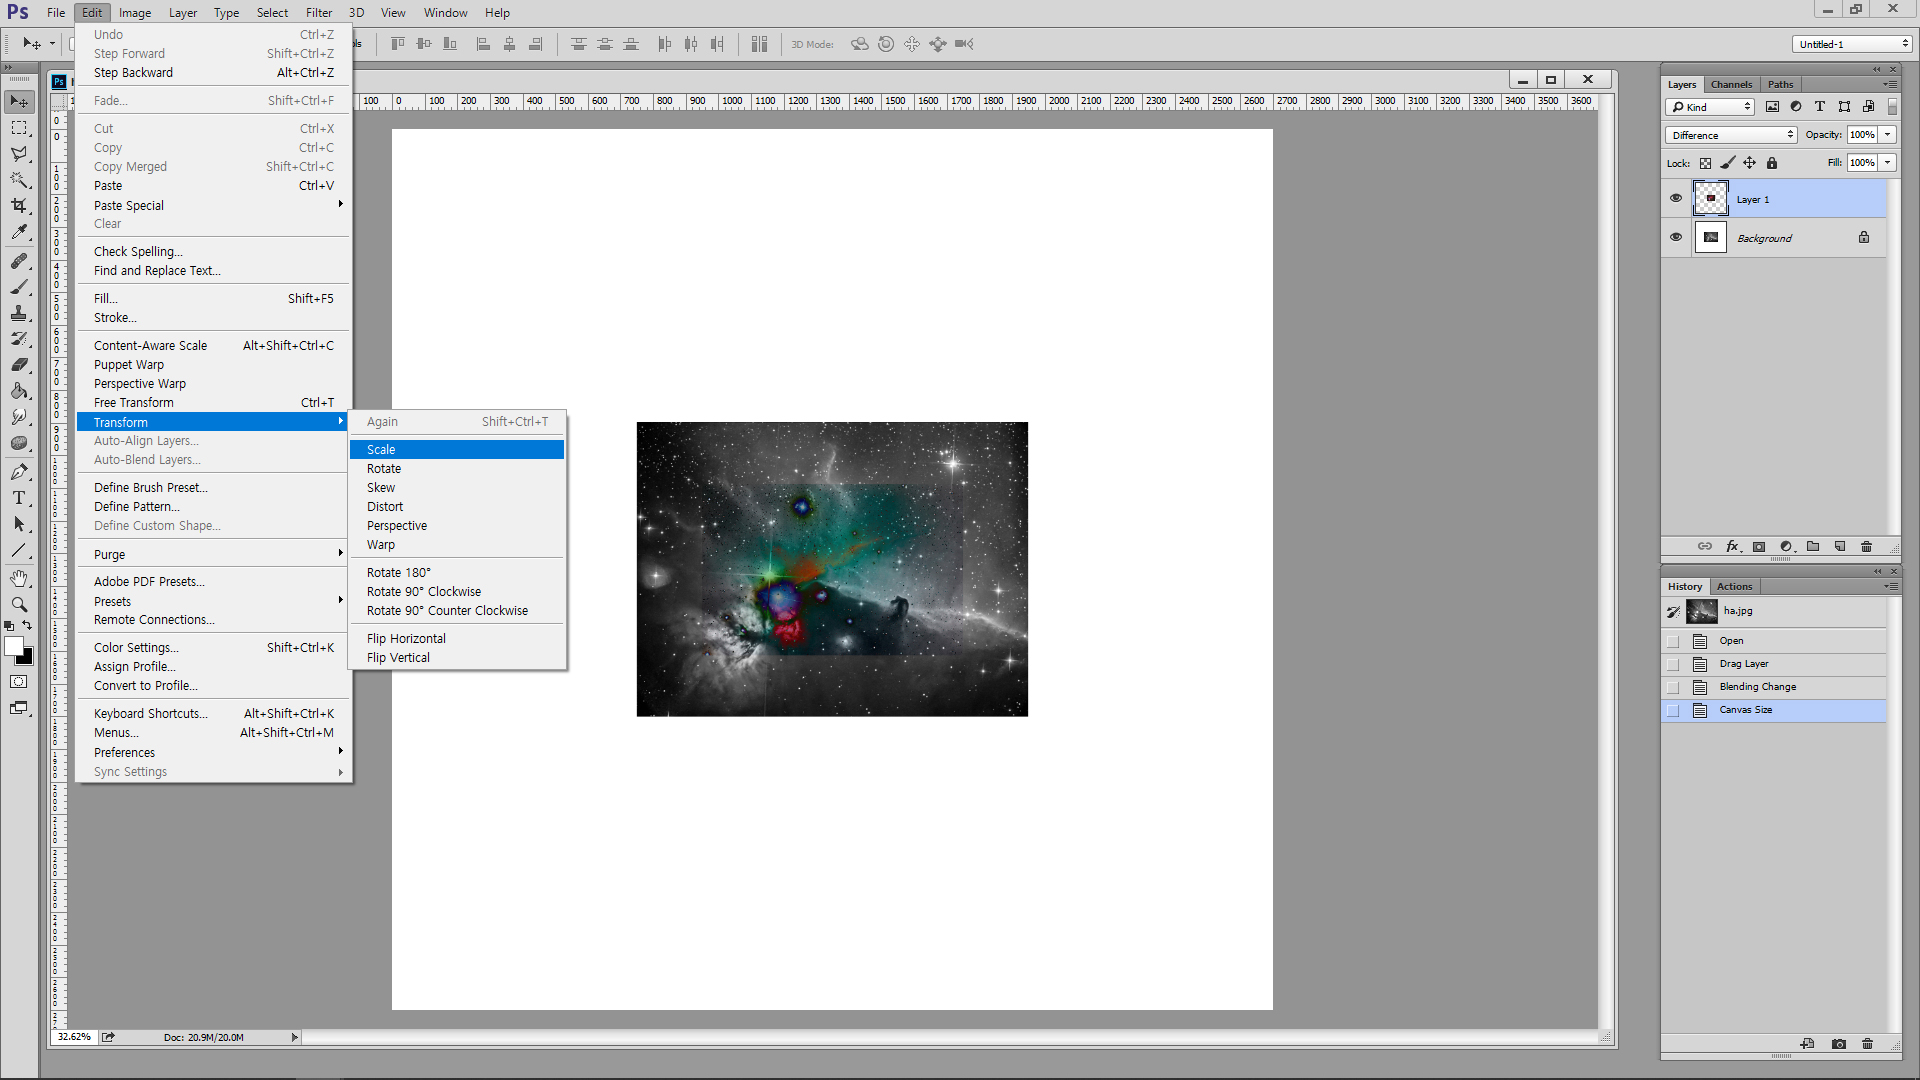
Edit-Transform-Scale을 실행합니다.
네 모서리의 작은 사각형을 드래그하여 크기를 대충 맞춥니다.
이 때 반드시 Shift키를 누른 상태로 끌어야 화면비례가 유지됩니다.
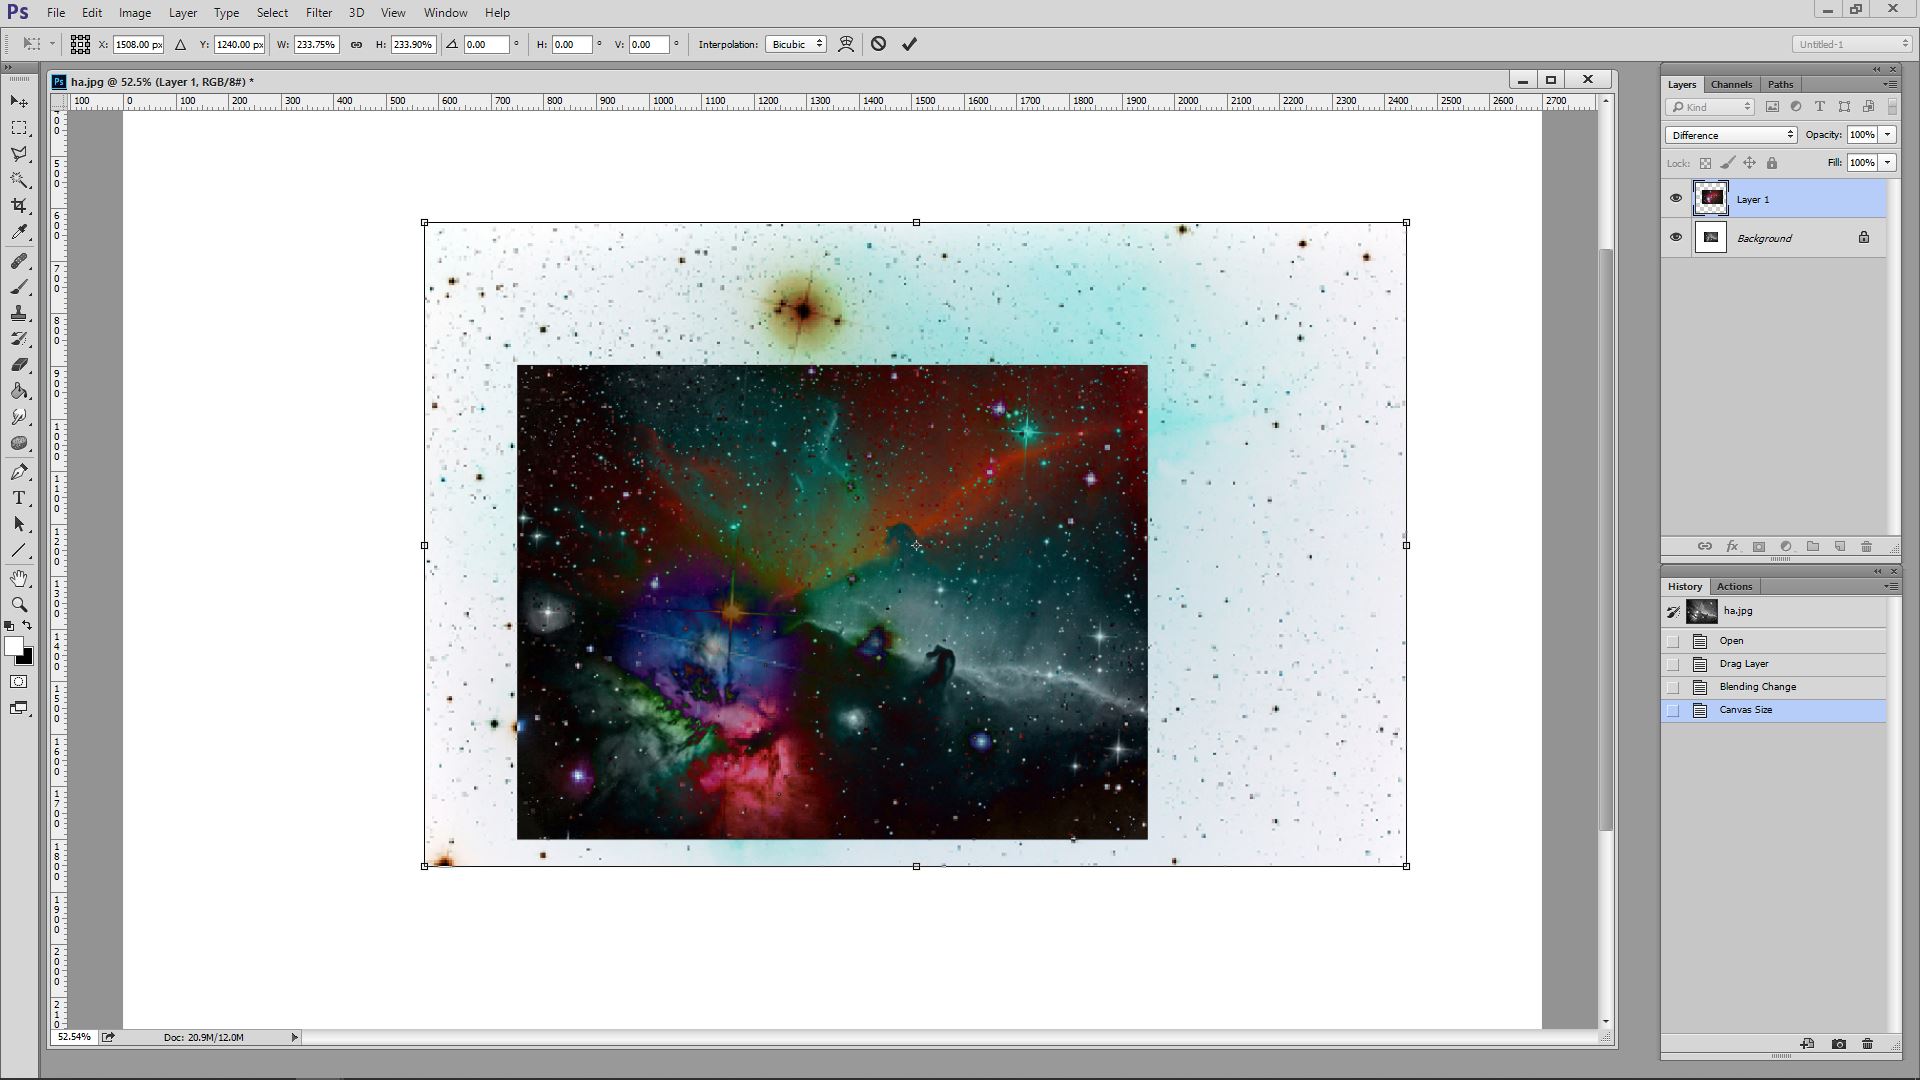
필요에 따라 사각형을 이동시킵니다.
(커서를 사각형 내부로 가져가면 까만 화살표로 바뀌며 이동이 가능합니다. 무브툴을 사용하지 마세요!)
키보드의 화살표키로도 움직입니다.
 1분내로 얼라인하는 방법 #2
 미드 pc연결 505 케이블 그리고 미드와 연결하기(전자성도설정 ...


